- ✔ Solar panel installations typically take about two days to complete
- ✔ Setting up solar panels can be done in seven simple steps
- ✔ Get a certified solar panel installer to carry out the job
If you’re currently exploring the expenses linked to acquiring solar panels for your residence, it’s essential to grasp the installation procedure.
Get acquainted with all the details of how your solar panel installation progresses, from its initial placement to its seamless integration with your power supply.
Ready to initiate a solar panel investment? Streamline your journey and discover the optimal deal with our user-friendly tool. Simply furnish a few fundamental details, and our skilled installers will reach out to you, providing complimentary quotes for effortless comparison.

What's on this page?
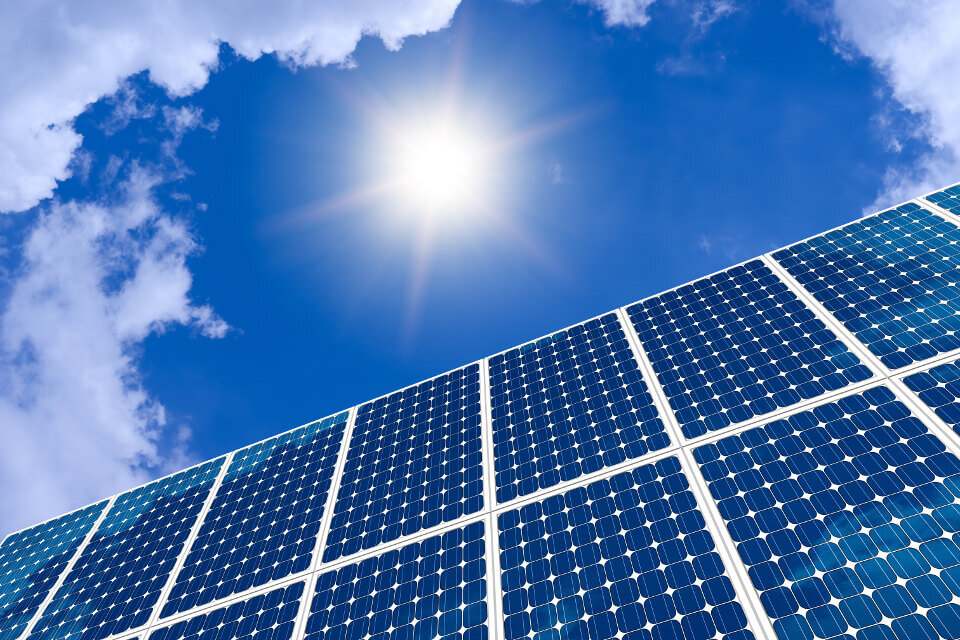
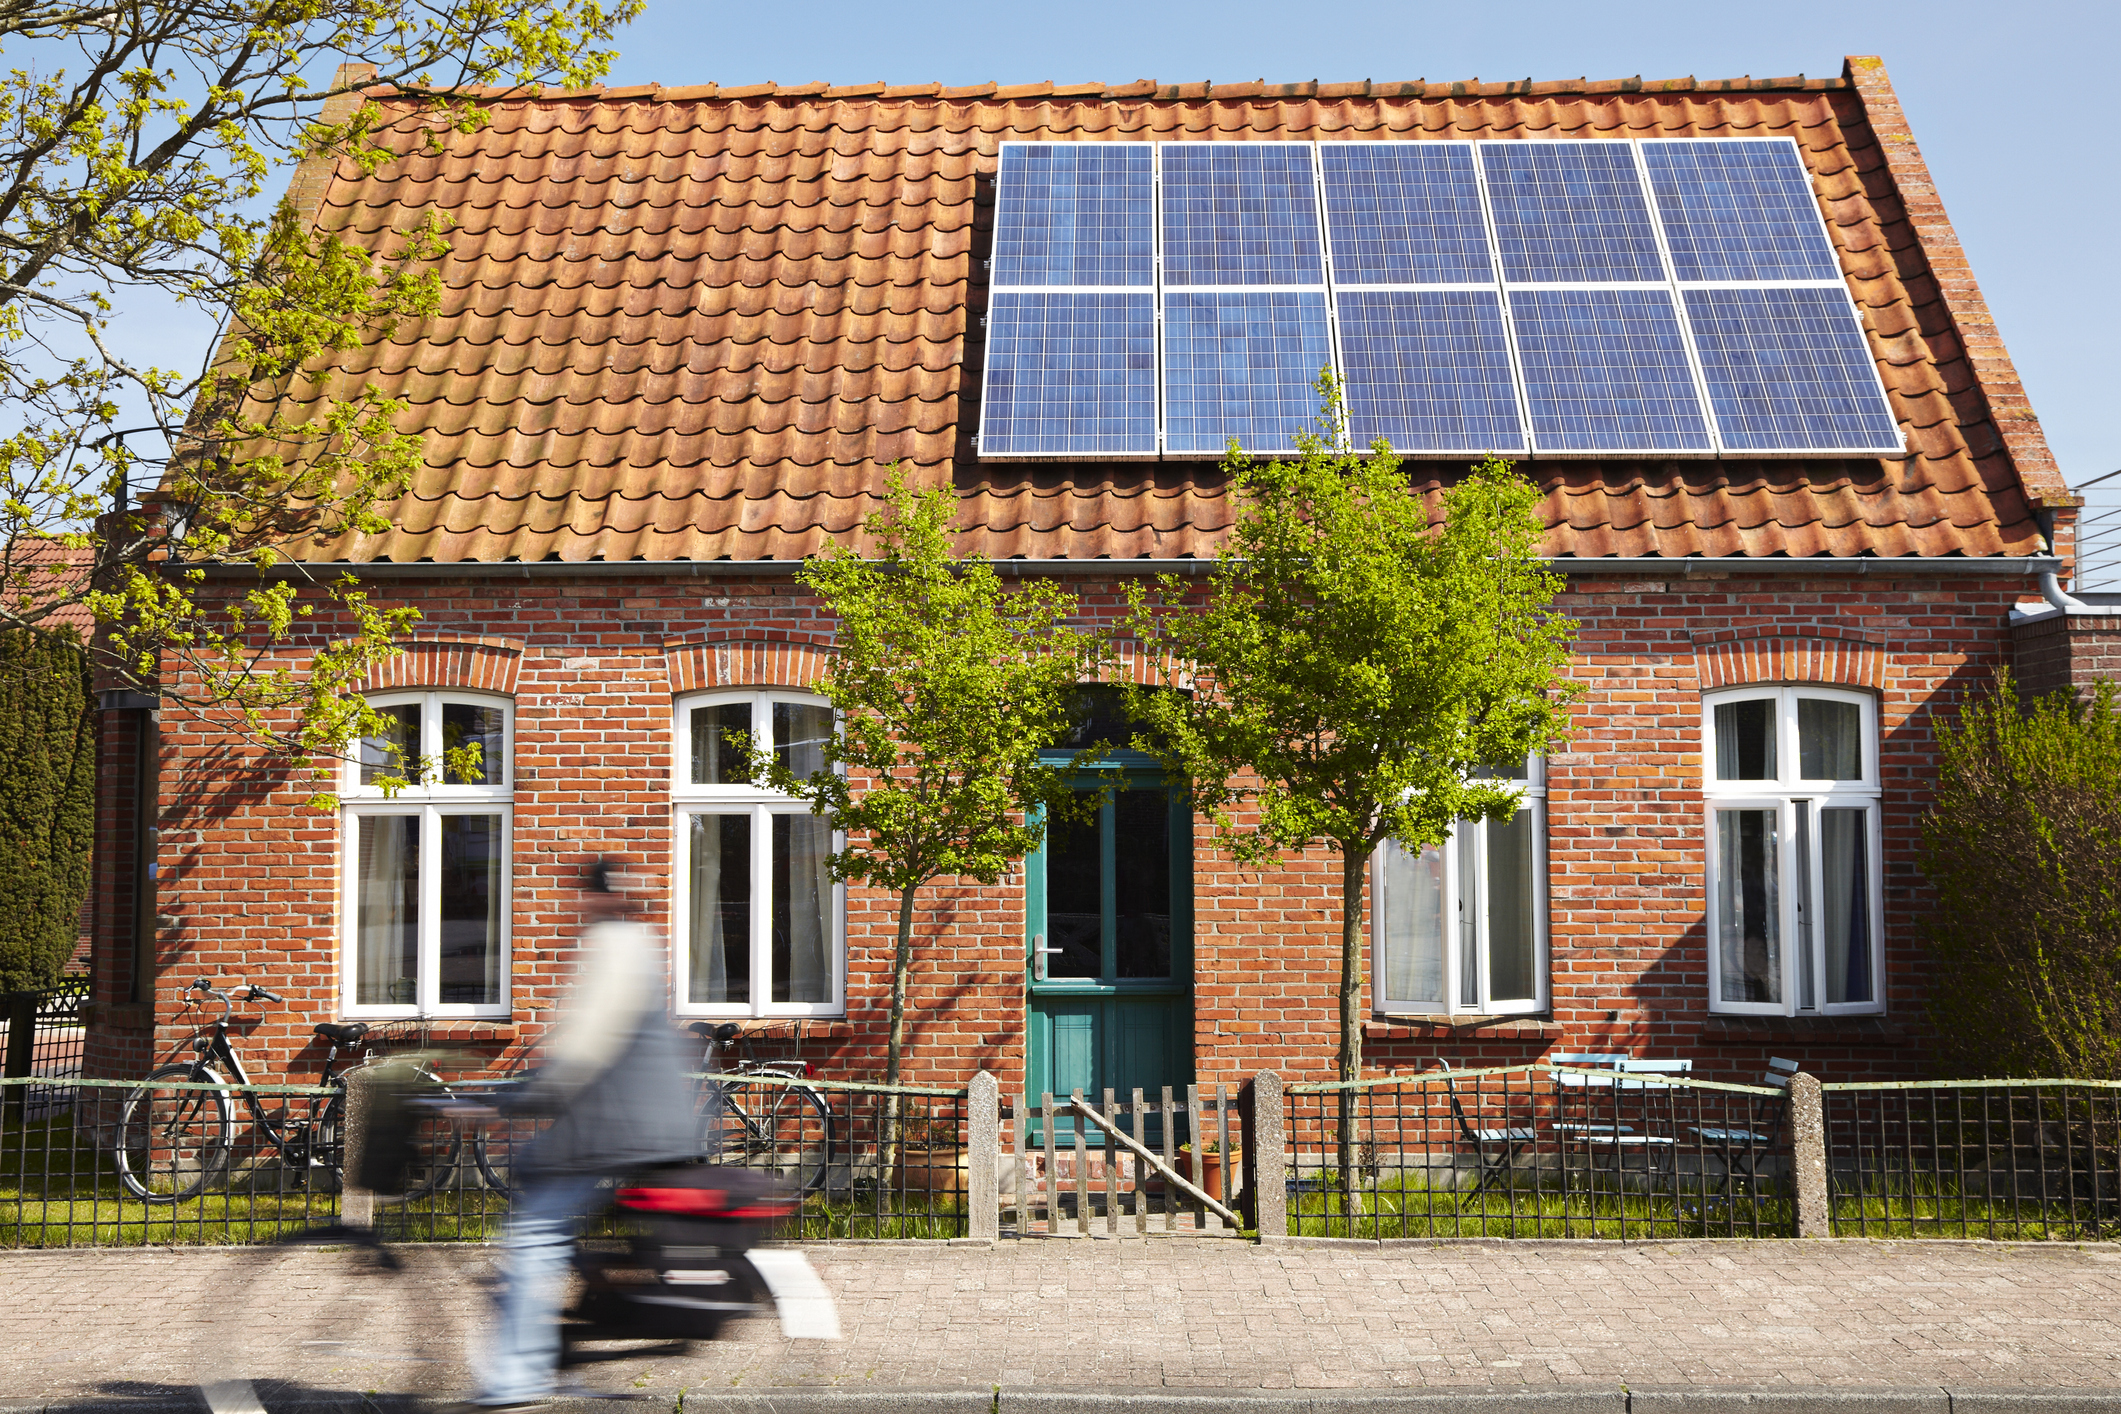
How are solar panels installed on a roof?
Despite their complexity in converting sunlight into electricity, the installation of solar panels is relatively straightforward for a professional.
Before starting the installation, a certified surveyor will conduct a thorough examination of your attic to ensure the structural integrity of both the roof and rafters. This step is crucial as it determines the safety of installing solar panels on your roof.
It’s essential that this assessment is carried out by an MCS-certified surveyor to prevent potential poor execution that could lead to long-term damages and increased costs.
Following the survey, the installation process can commence with skilled professionals.
Outlined below are the seven straightforward steps (plus an optional one) undertaken by solar installers during the process.
Step one: The scaffolding is set up
Throughout the installation of solar panels on your house’s roof, the installers will first need to erect scaffolding around the building before commencing the task.
This particular step usually takes the most time, typically around a day, yet it ensures that the installers have secure and dependable access to the roof.
Step two: Roof anchors are attached
During the installation process, the installer will elevate specific roof tiles to secure anchors onto the rafters within the attic. This step establishes a robust foundation for the solar panel mounts, ensuring their durability against potential damage during stormy weather.
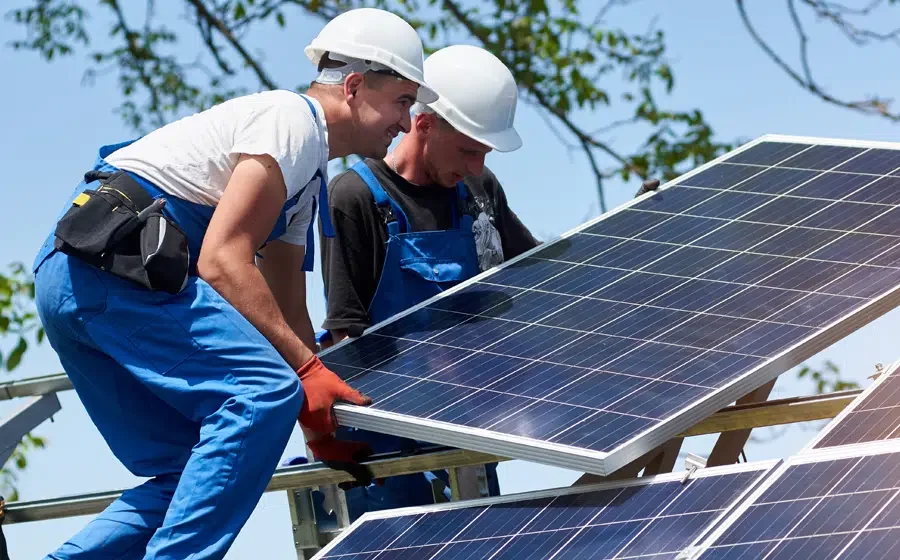
Step three: Solar panel mounts are secured
Following the securement of the roof anchors, the installer will affix the solar panel mounting system to them. This framework extends both vertically and horizontally across the roof, serving as the foundation for the solar panels.
The mounting system ensures the panels’ stability while enabling their placement at an optimal angle on the roof, maximizing exposure to sunlight.
As for the panels themselves, they can be installed either vertically or horizontally.
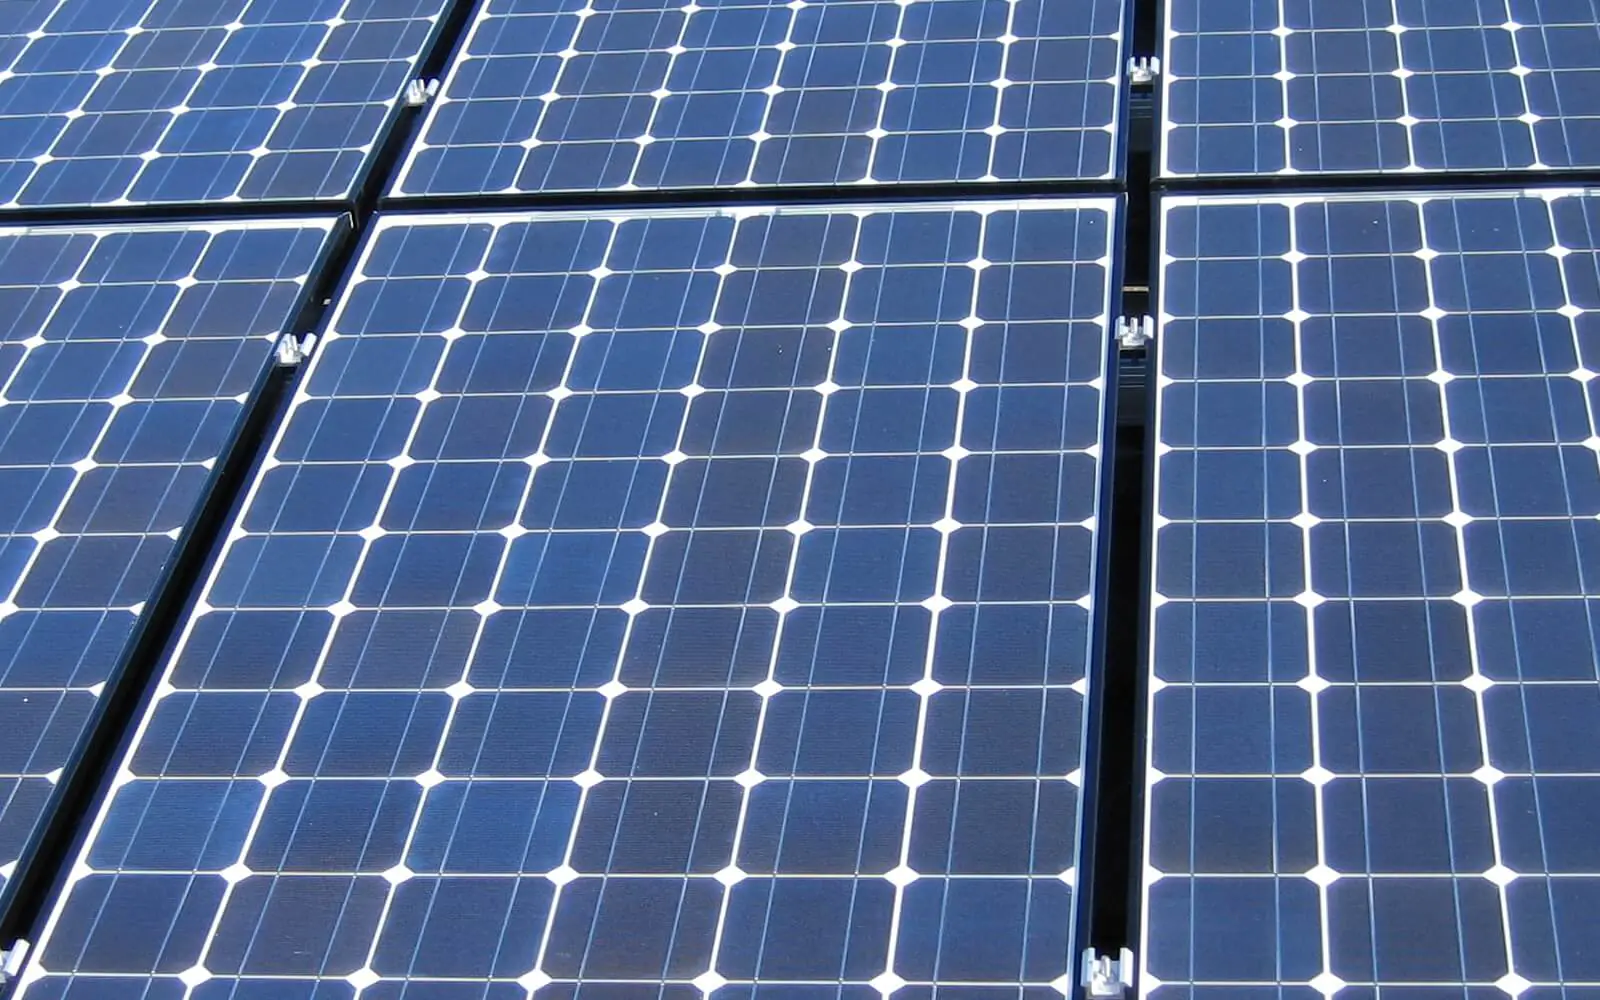
Step four: The solar panels are installed
With the mounting system in place, the next stage begins: positioning the solar panels on the roof.
The installer begins by placing the solar panels onto the mounting system, initially without fully securing them. After confirming the desired angle, the installer proceeds to tighten all the bolts and nuts across the system, firmly securing the panels in place.
Step five: An inverter is wired to the solar panels
The majority of panels are shipped from the manufacturer already wired, simplifying the process as they only need to be connected to the inverter.
It’s important to note that smaller solar panel setups involve connecting a single series of wires to the inverter, while larger systems link multiple parallel wires.
The inverter plays a crucial role in a solar energy setup, converting the direct current (DC) electricity generated by the solar panels into the alternating current (AC) electricity used in households.
Usually positioned near the breaker panel, the main electrical circuit distribution point in a home, the inverter can be installed either indoors or outdoors.
The installation of the inverter, on average, takes about 4 to 6 hours, depending on the system’s size.
Despite its seemingly straightforward nature, this phase, if handled by an unqualified individual, poses the highest risk of system failure.
We strongly discourage self-installation unless you are a certified solar installer. Incorrect installation could lead to fire hazards and potentially void your home insurance coverage.
Step six: The inverter is connected to the consumer unit
Afterward, the inverter is linked to a circuit-breaker situated in your consumer unit, often referred to as the fuse board. This connection enables the electricity generated to be distributed to your home.
In this stage, the installer typically integrates a generation meter into the system. This device monitors the quantity of electricity generated by your solar panels. Some inverters come with this feature, providing an easy way to monitor your solar system’s performance via a computer or smartphone.
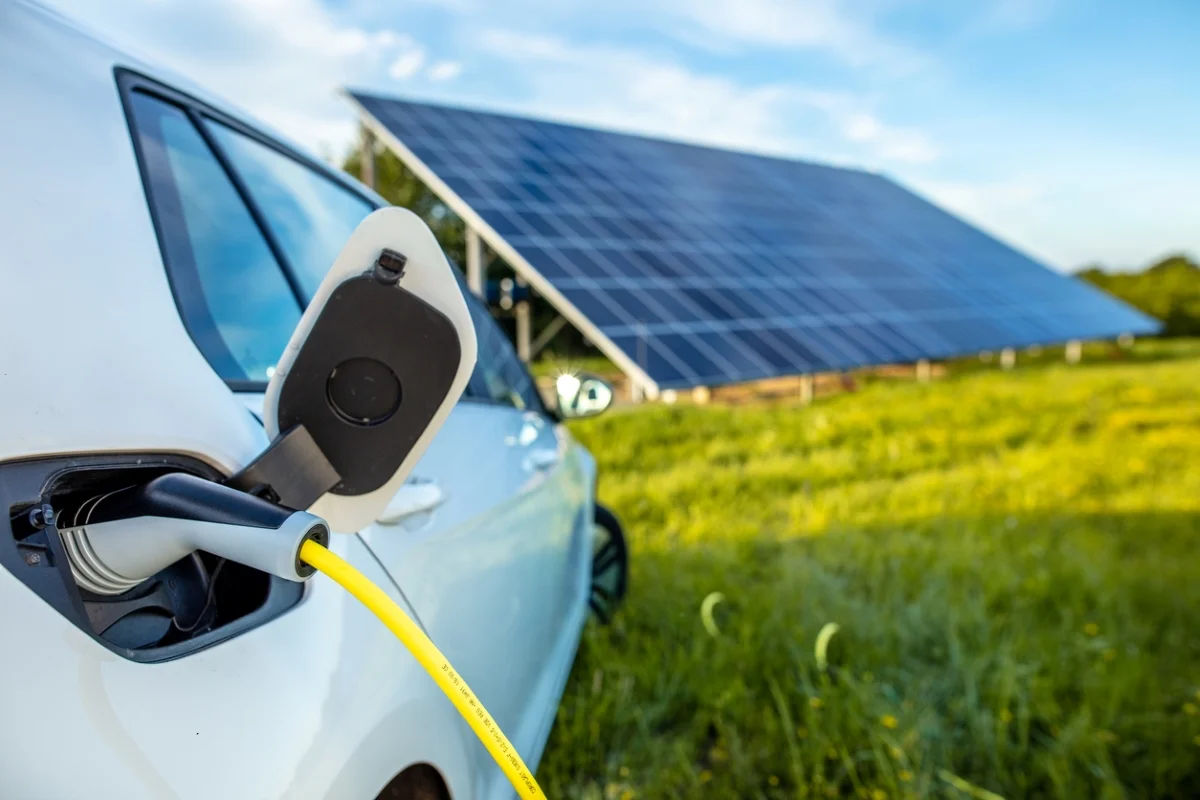
Optional step: The inverter is connected to the solar battery
Furthermore, some individuals choose to integrate their solar panels with a solar battery, designed to store excess solar energy for use on cloudy days or during the night.
If your system incorporates a solar battery, it is crucial to establish the connection between the battery and the inverter at this point.
Step seven: The solar panel system is tested
Upon completing these tasks, the installer’s final step involves verifying the system’s functionality. This includes restoring power and systematically observing each component of the system to ensure its smooth and proper operation.
How long does a solar panel installation take?
Normally, solar panel installations are completed in approximately two days. The most time-intensive phase is the scaffolding setup, but if the panels are not being installed on the roof, this process is considerably shorter. For instance, wall-mounted solar panels require less time.
Once the scaffolding is in place, the actual panel installation typically concludes within a day. The total duration can vary based on factors such as property type, the size and complexity of the solar panel system, and the potential impact of unforeseen adverse weather conditions.
Get FREE Solar Quotes
Find out how much a solar solution would cost you
Complete A Short Form – Receive Free Quotes – Compare & Save
Get FREE Solar Quotes
Find out how much a solar solution would cost you
Complete A Short Form – Receive Free Quotes – Compare & Save